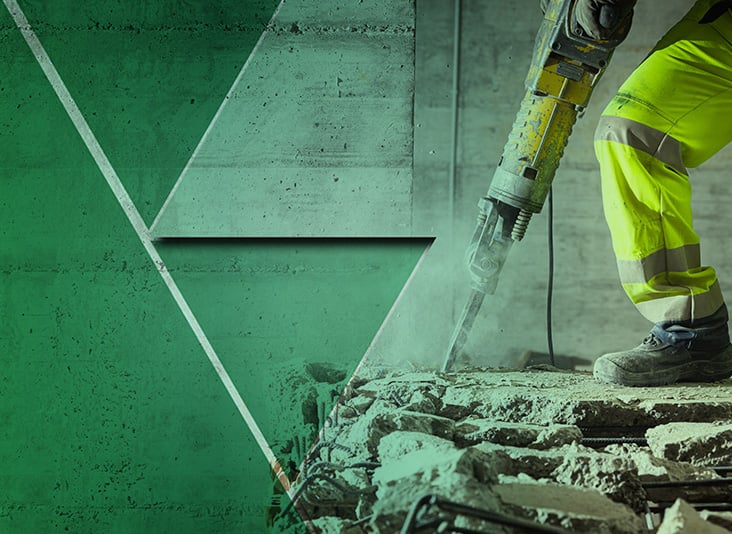
 During our latest webinar, expert Craig Sasse shared some valuable insight into how to properly plan and execute laboratory decommissioning projects. Whether relocating, closing, or renovating a lab, every decommissioning project should follow a certain set of standards to ensure success and minimal liability. Mr. Sasse and his team have identified a best-in-class procedure that separates the good from the bad.
Phase 1: Lab Audit
Understanding what’s in your facility is an essential step in developing a plan. You will want to perform full chemical and equipment inventories and compile information necessary to guide an appropriate decommissioning of a space.
Here are some tips and questions that will help you get started:
- Define lease and decommissioning obligations. Vague lease obligations can lead to unexpected costs during move out. Prepare for the discovery of unanticipated waste and contamination. Is there a history of poor housekeeping? Poorly documented work? Lingering issues from previous tenants? Obtain as much information as you can to minimize your liability risk.
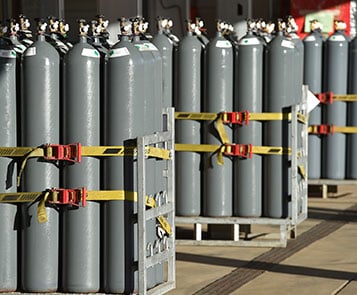
- Dispose of unused chemicals and equipment. Getting rid of the clutter will save you time and money when you begin packing up and moving out.
- Conduct interviews. Capture institutional knowledge from lead researchers and facility managers that may not be readily available. The more procedural information you have, the better prepared you will be for the following phases.
- Identify all stakeholders. Internally, this includes: lead researchers, facilities group, finance, and EH&S. Externally: landlord or property owner. Think about your own organization and start to engage them early in the process to ensure everyone’s needs are met.
- License and permit management. What licenses and permits are you obligated to manage? There are often lead times to obtaining a permit or license, for example, radioactive materials have longer lead times. Have this data available for regulators to review.
- Examine decommissioning costs and start thinking about vendors and scoping activities that can accelerate the project.
- Do you have a home for everything? Identify gaps and work with vendors to fill those gaps and develop a clear schedule and material flow.
- Implement good security and safety measures. Understand the infrastructure of the building as workers will be exposed to chemicals that will, in turn, increase your liability.
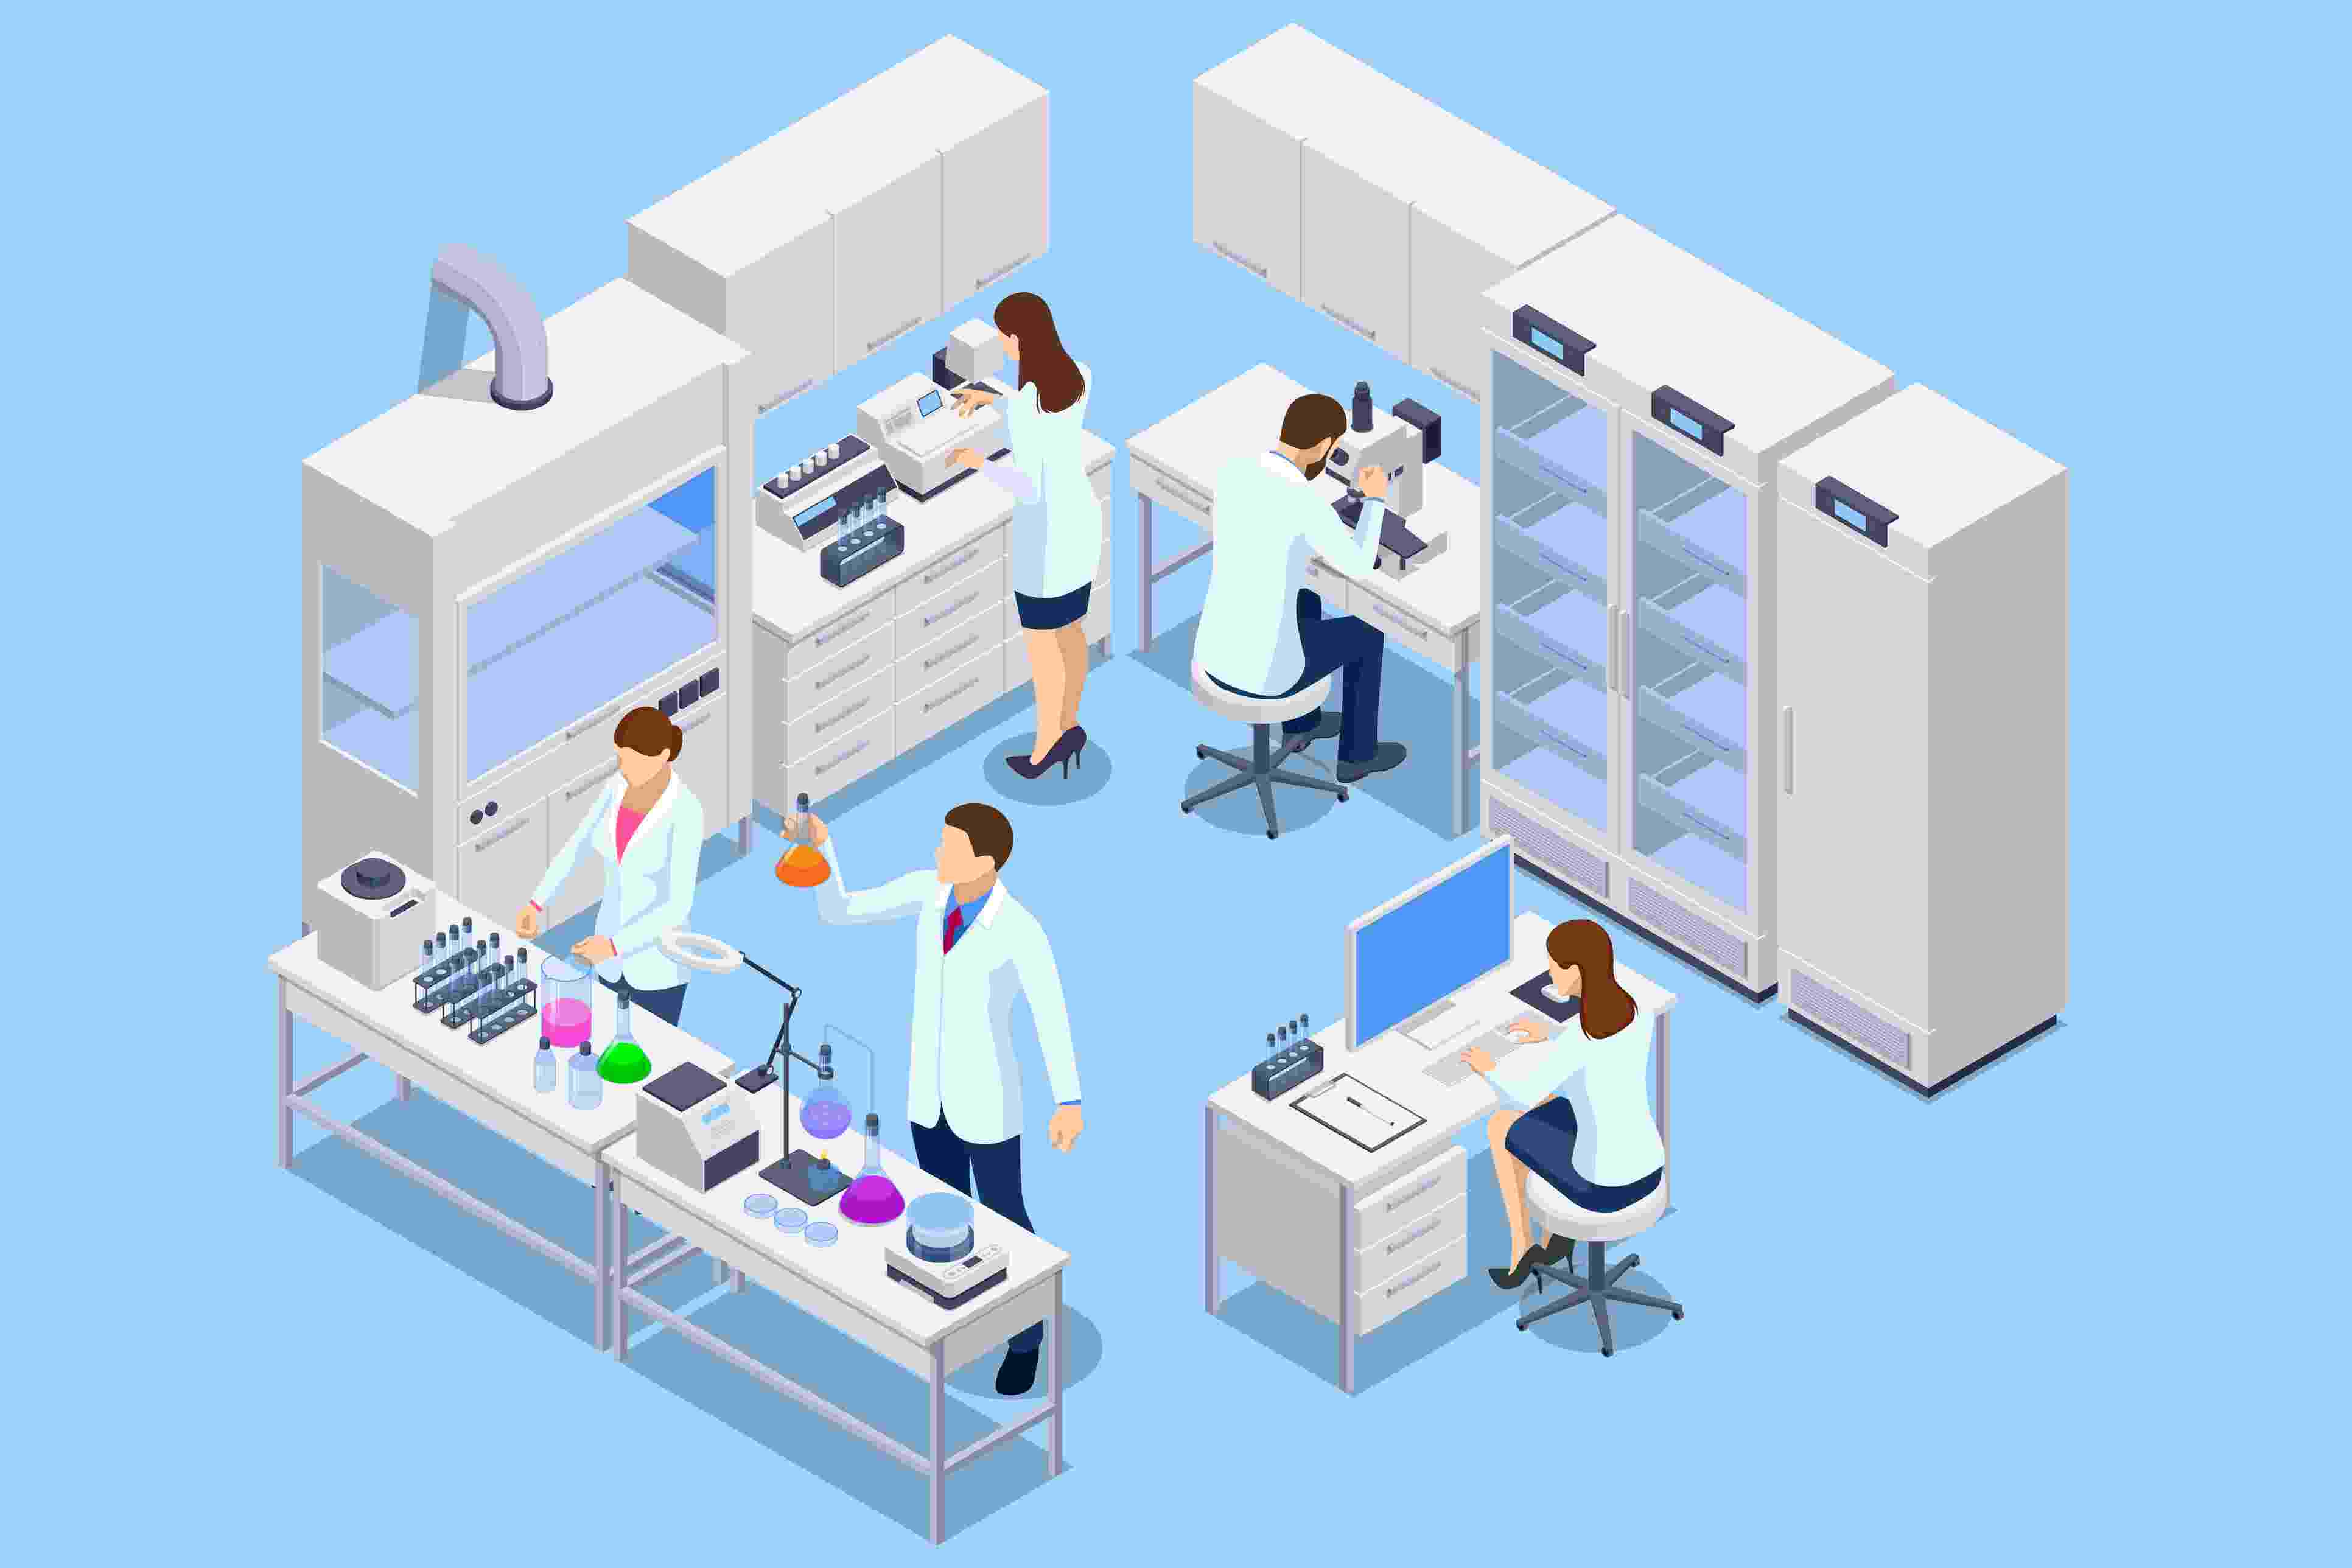
Phase 2: Assessment & Decontamination
To start the decontamination phase, you will need to define the areas that require assessment. This includes spaces where chemicals were used and/or stored (note: it is not necessary to go into offices or other common areas). Make sure you delineate the spaces and establish what equipment requires decontamination and what will be removed. The use of tags is one way to do this.
Here are some areas you should pay special attention to:
- Desktops, drawers, shelves, cabinets, and other horizontal spaces
- Floors and walls – how high up the wall depends on the materials and processes used
- Chemical and waste storage areas
- Areas where there were spills
- Cold rooms
- Animal care areas
- Fume hoods
- Plumbing
- Lab equipment, e.g. BSCs
- Wastewater system – save this for last as you want to be able to discharge wastewater up until the end
- Waste pickup – understand volume and mass as part of the process as your generator status still applies
Since there are no specific regulatory requirements, it is your responsibility to define the means and methods that will lead to clean conditions. Make sure procedures are clear and appropriate for the materials being handled. For instance, if you’re handling mercury in the lab space, ask your vendor for the SOP for handling a mercury spill or contamination.
Tip: Be mindful of aesthetics. If it looks dirty, you’re opening yourself up to questions about cleanliness. Remove dust and other debris. This is an easy task that goes a long way.
Phase 3: Documentation
Following the decontamination, clearly document what was done and how it can be independently reproduced. Your documentation should tell a story and if done properly, will leave little room for questions.
This document should include:
- Assessment data
- Means and methods for assessment
- Cleaning protocols
- Chemicals and hazards that may have been present during operation of the facility
- Acceptable levels of risk
- Where your waste is held
- Before and after pictures – confirm areas that have been decontaminated
- A statement of acceptable level of risk, signed by a certified industrial hygienist
While these are some guiding principles for a laboratory decommissioning project, there’s a lot more to successfully executing. Lab decontamination is one of the most important steps in successfully completing your lab decommissioning. You can also check out the full webinar recording here.