The Ergonomic Assessment: Identify and Reduce Ergonomic Risk
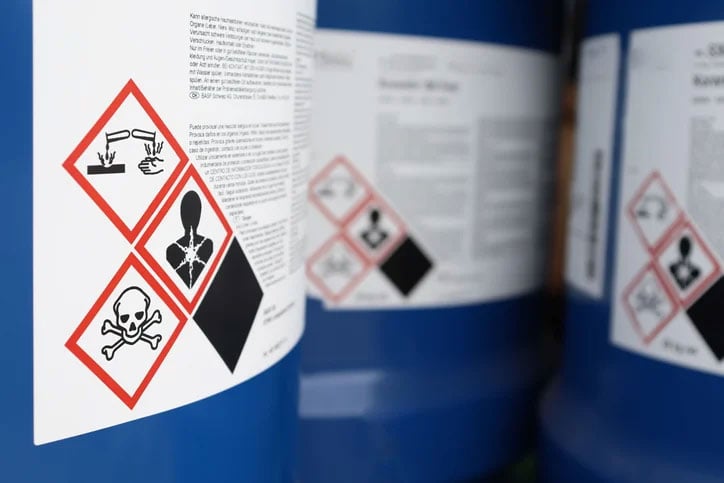
Ergonomic risk is present across all industries, affecting millions of workers every year. Whether your employees are moving materials, working in a biosafety cabinet (BSC), using power tools, or typing on a laptop, ergonomic hazards can be present. Fortunately, there...
Read full article